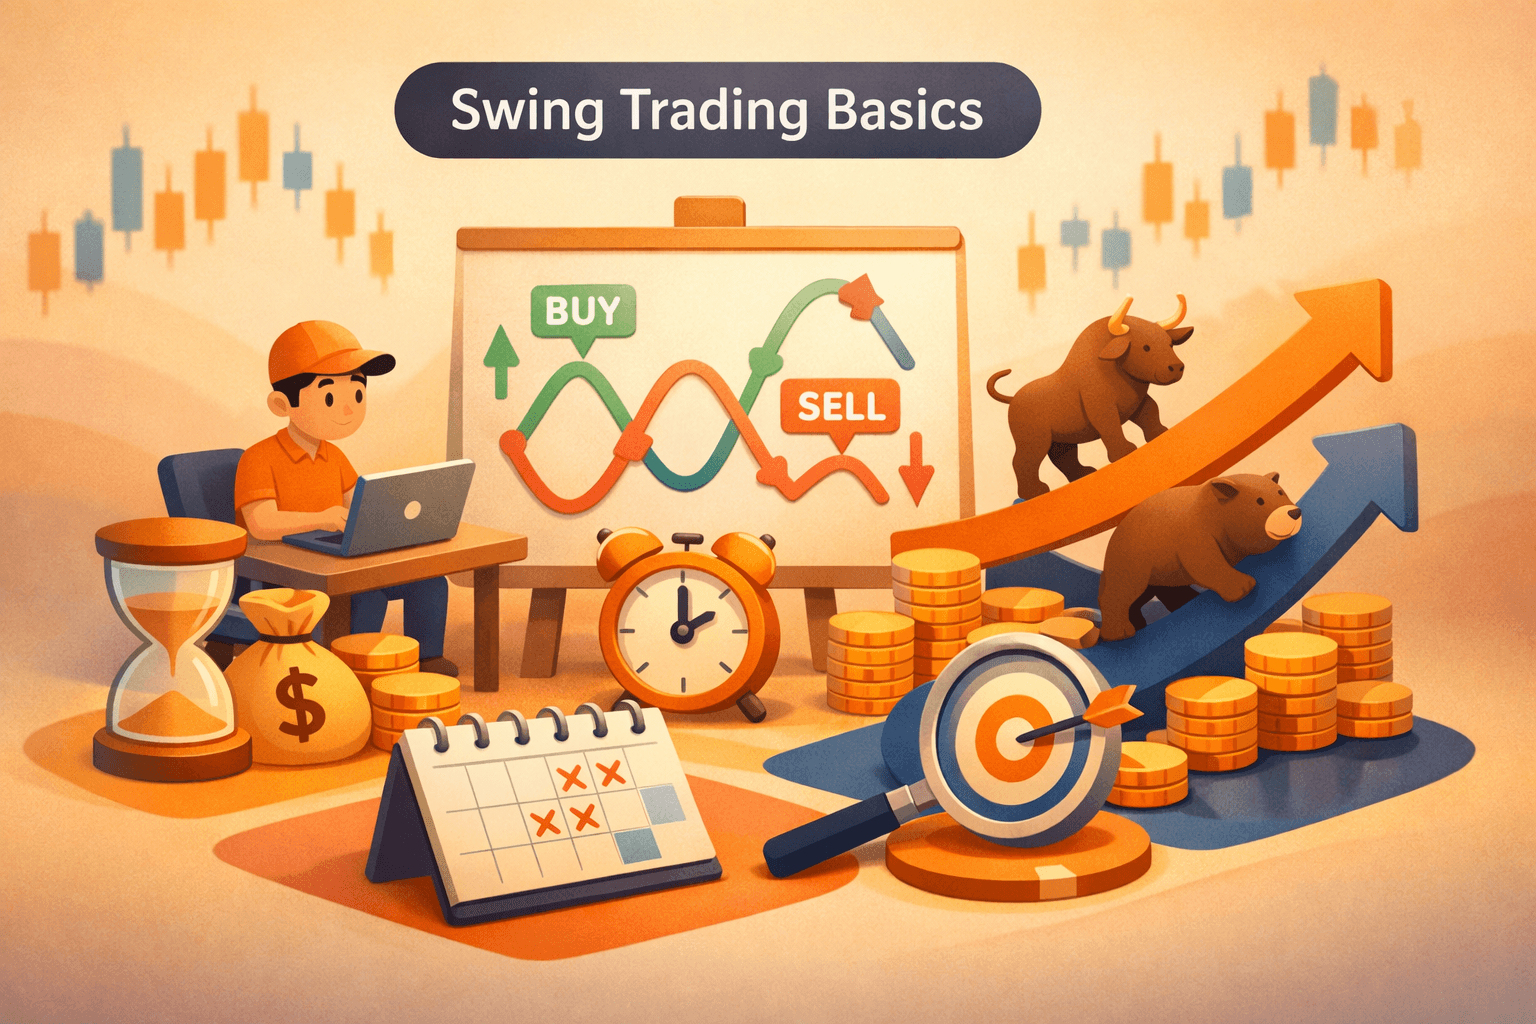
Introduction
Advanced technical analysis covers tools that go beyond moving averages and basic support and resistance. This article focuses on three complementary areas: Fibonacci retracement and extensions, Elliott Wave theory, and complex chart patterns and indicators such as harmonic patterns and the Ichimoku cloud.
Why does this matter to you as an experienced trader? These tools help refine entries, exits, and targets by quantifying probable turning points and market structure. Ever wondered how professional analysts pick precise levels rather than guessing? You'll learn specific rules, numeric examples, and how to combine methods for higher-probability setups.
- Use Fibonacci retracements and extensions to quantify likely support and resistance, emphasizing 23.6%, 38.2%, 50%, 61.8%, and 78.6% levels.
- Apply Elliott Wave structure to distinguish impulsive moves from corrective waves, and use Fibonacci relationships to validate counts.
- Recognize harmonic patterns like Gartley, Bat, and Crab using strict Fibonacci ratios to forecast reversals.
- Read the Ichimoku cloud to assess trend, momentum, and dynamic support, and use it with volume and RSI for confirmation.
- Combine tools for confluence, apply strict stop placement tied to volatility, and always size positions per risk management rules.
Fibonacci Retracement and Extensions
Fibonacci retracement and extension tools project potential reversal and extension levels based on ratios derived from the Fibonacci sequence. The most commonly used retracement levels are 23.6%, 38.2%, 50%, 61.8%, and 78.6%. Extensions commonly used for targets are 100%, 127.2%, 161.8%, and 261.8%.
These levels are not magic; they work as self-fulfilling levels because many traders reference them. You should treat them as zones, not exact pixels. Combine them with volume, trend context, and candlestick structure to validate a level.
How to apply retracements
Identify a clear swing low and swing high on the timeframe you trade. For an uptrend draw from low to high, for a downtrend draw high to low. Key levels then act as potential support or resistance during pullbacks or rallies.
Example calculation, practical method. Suppose $AAPL runs from $120 to $180. The 61.8% retracement is calculated as 180 minus 0.618 times the range. Range equals 60. So 0.618 times 60 equals 37.08. The 61.8% retracement level is 180 minus 37.08, or about $142.92. You'd watch price behavior around $143 for a bounce or break.
Extensions for targets
When the market resumes trend, Fibonacci extensions give objective targets. If $AAPL breaks above $180 after the pullback, calculate 161.8% extension off the same swing. Extension = low + (range times 1.618) which here would be 120 + 60 times 1.618, or about $217.08.
Use extensions as target zones for partial exits and to set reward objectives. Match extension targets with previous highs or clusters for stronger confluence.
Elliott Wave Theory: Market Psychology in Structure
Elliott Wave theory describes markets as a fractal series of impulsive and corrective waves. A basic impulsive structure contains five waves in the direction of the larger trend, labeled 1 through 5, followed by a three-wave correction labeled A, B, C. Wave relationships often adhere to Fibonacci ratios.
Wave counting is subjective and requires rules and common-sense filters. Learning to identify the trend degree, impulsive criteria, and corrective types will improve your counts. Wave theory helps you anticipate where a correction is likely to end and where the next impulsive leg may start.
Practical Elliott rules and tips
- Wave 2 cannot retrace more than 100% of Wave 1. If it does, the count is invalid.
- Wave 3 is rarely the shortest; it's often the longest and commonly extends 1.618 times Wave 1.
- Wave 4 should not overlap the price territory of Wave 1 in standard impulsives on most markets, except in diagonals.
Example: Suppose $NVDA climbs from $100 to $160 (Wave 1), then corrects to $125 (Wave 2). If Wave 3 is 1.618 times Wave 1 in length, Wave 3 would add 60 times 1.618, or about $97.08, implying a peak near $257.08. You'd use Fibonacci projections to test those targets and see whether price respects the structure.
Managing multiple valid counts
Advanced traders will maintain alternate counts. Label your primary count and at least one alternate. Mark key invalidation points where the primary count fails. These checkpoints let you evolve your view without bias or hindsight rationalization.
Complex Patterns and Indicators
Complex patterns add specificity to reversal or continuation signals. Two advanced topics to master are harmonic patterns and Ichimoku. Both use predefined rules so you can apply objective entries and stops.
Harmonic patterns: Gartley, Bat, Crab
Harmonic patterns are geometric price structures defined by Fibonacci ratios between legs. The Gartley, Bat, and Crab differ in their X-A, A-B, B-C, and C-D ratios. For instance:
- Gartley typically has a 61.8% retracement of X-A for B and a 78.6% retracement for D, with B-C and C-D having complementary ratios.
- Bat expects B around 38.2% to 50% of X-A and D near 88.6% of X-A.
- Crab is an extreme pattern with D often at 161.8% to 224% of X-A.
Harmonics demand strict ratio confluence. Treat the completion zone as an area for a high-probability reversal when other conditions agree.
Ichimoku cloud: trend, momentum, support
Ichimoku has five components: Tenkan-sen, Kijun-sen, Senkou Span A and B (which form the Kumo or cloud), and Chikou Span. The cloud projects support and resistance forward and gives a visual trend filter. Price above the cloud suggests bullish bias, price below suggests bearish bias, and price within the cloud indicates consolidation or trend transition.
Use crossovers between Tenkan and Kijun for momentum entries, and confirm with Chikou's position relative to price. Combine Ichimoku with volume or RSI to avoid false signals, especially on lower timeframes.
Combining indicators for confirmation
Volume spikes on a Fibonacci level, a harmonic pattern completion, and a Tenkan-Kijun bullish cross can form a strong confluence setup. You want independent confirmation rather than stacking redundant signals. For example, RSI divergence at a 61.8% retracement that aligns with an Ichimoku support adds conviction.
Putting It Together: Confluence, Execution, and Risk Management
Combining tools reduces false positives and improves risk-reward balance. Confluence means more than two independent signals aligning at a similar price zone. Typical confluence elements include a Fibonacci level, a wave count end point, a harmonic pattern PRZ, moving average support, and volume confirmation.
You should always predefine invalidation points and position size to limit risk to a fixed percent of capital. Use volatility measures like Average True Range to place stops that are wide enough to avoid noise but tight enough to protect capital.
Numeric setup example
Assume you're evaluating $TSLA on the daily chart. A swing low to high measured move is from $600 to $900. Price pulls back to $720, which is about the 61.8% retracement level calculated as 900 minus 0.618 times 300 equals 900 minus 185.4 equals $714.6 so $720 sits in that zone. Simultaneously, an Elliott count suggests Wave 2 is completing and an Ichimoku cloud top lies around $725. That cluster forms a confluence zone.
Define your entry rules. You might plan a limit entry in the confluence zone, place your stop below the invalidation level at $680 which is below the 78.6% level and the ATR-based volatility buffer. If you risk 1% of your account and the distance to stop is $40, calculate position size so the dollar risk equals 1% of account value. Set partial profit-taking at the 100% extension near $900 and a secondary target at the 161.8% extension near $1,378 using the same measured move math.
Execution and trade management
Use limit orders for better fills when you have a clear edge. Trail stops on confirmed trend continuation using the Kijun or a multiple of ATR. Always re-evaluate the trade if price action invalidates your wave count or breaks the Ichimoku cloud decisively. At the end of the day, discipline and a repeatable routine produce consistent results.
Common Mistakes to Avoid
- Overfitting counts and patterns, forcing the market to the idea rather than letting price dictate structure. How to avoid: keep alternate counts and mark invalidation points.
- Using Fibonacci and patterns in isolation without volume or momentum confirmation. How to avoid: require at least one independent confirmation before taking a trade.
- Placing pixel-perfect stops at exact Fibonacci numbers. How to avoid: treat levels as zones and use volatility buffers like ATR to size stops realistically.
- Ignoring timeframes and fractal behavior. How to avoid: align higher timeframe trend with your trading timeframe and avoid counter-trend setups unless you have a clear reason.
- Applying Ichimoku rules without understanding components and market context. How to avoid: backtest entries using the cloud components and practice reading cross checks on multiple tickers.
FAQ
Q: How reliable are Fibonacci levels on their own?
A: Fibonacci levels are probabilistic, not certain. They become more reliable when combined with other signals like volume, momentum divergences, or pattern completions. Treat them as zones and require at least one independent confirmation.
Q: Can Elliott Wave counts be automated?
A: Fully automating Elliott Wave counting is difficult because the theory is interpretive and fractal. Some algorithms can identify likely counts, but human oversight is usually required to choose the most plausible count and manage alternates.
Q: Which harmonic pattern is most common and easiest to trade?
A: The Gartley and Bat patterns are relatively common and have clearer ratio rules, making them easier to apply. They still require strict ratio checks and confirmation from price action to improve success rate.
Q: How should I size positions when using these advanced setups?
A: Size positions based on predefined percent risk per trade, commonly 0.5% to 2% of account equity for many traders. Use the dollar distance to stop, informed by ATR, to calculate position size so your maximum loss equals your intended percent risk.
Bottom Line
Advanced technical analysis gives you a structured way to quantify turning points and targets, but none of these tools are infallible. Fibonacci retracements, Elliott Wave counts, harmonic patterns, and Ichimoku each offer defined rules that reduce subjectivity when you apply them carefully.
Start by practicing with backtests and paper trades, keep alternate counts, and combine tools for confluence. Always tie every setup to risk management rules including stop placement and position sizing. If you do that, you'll expand your toolkit with techniques that can improve your timing and trade management in real markets.